Wednesday, April 27, 2011

Pillowcase Dress Tutorial

There are a myriad of ways to make a pillowcase dress.   This is the way that works best for me....here we go.
1.  Gather your supplies:  A pillowcase (or fabric approximately the same size), scissors, measuring tape, strait pins, marking pen (preferably disappearing), sewing machine (although could be done by hand) and thread, iron, arm hole template, and ribbon.  


2.  Measure for desired length.  You can either measure the intended wearer, or use a dress that fits well and measure the length of that dress.  It is best to measure from the bottom of the arm hole down to the bottom hem.  On my dress it was around 14".  

 3.  I measured 14" up on the pillowcase (from the bottom/open end up) and put a pin in.  I then printed and cut the arm hole template (I like the template for size 2t-3t, but for larger sizes I would add 1 1/2" to the top and side (the little tab on the side) of the pattern or, just use an existing dress, trace the arm hole and add 1 1/2" to the top for the casing).  I lined the bottom edge of the arm hole template up with the pin marking the bottom of my arm hole.


4.  Cut off the top.  I lined my ruler up with the top of the template and used my rotary cutter to cut the top off.  You could do this with scissors too, just use diapering ink pen to mark the cut line and cut with scissors.
 5. Use the pen and template the mark the arm holes, and cut them out.

 6. Make the hem for the arm holes.  Do this by turning the raw edge in 1/4" or so twice.  I start in the middle.  Fold it in, then in again, pin in place.  Keep moving up all the sides.

 7.  Stitch down the hem.  I like to sew as close the the inside edge as possible, making sure the raw edge is enclosed.

 8.  Fold down and iron the top about 1/4".  I then used  a zig-zag stitch to finish the edge.

9.   Next fold the top over 1-1/2" depending on the size of ribbon.

 10.  Finish off the ends of the ribbon (fray check or heat seal), attach a safety pin and thread through the opening made in the top.

 11.  Gather up both ends evenly and tie into a bow/bows.  You're done!  Pretty easy right?

 I used the left over top part of the pillowcase to make some bloomers.  I used this pattern.  I sized it down a little, and cut the legs shorter for shorts.  I used my serger to add a rolled hem edge to the bottom of the legs and then used a shirring technique (elastic thread in the bobbin) to make the gather at the bottom of the legs.  I made this outfit for my 20 month old niece.  Just don't tell my hubby that I used my little boy as a model.  :)

The sky is the limit with this easy pattern.  Different fabrics, ribbons, trims, ruffles and appliqué  all lend themselves well to this project.

Just saw this SUPER CUTE pattern:  http://www.themotherhuddle.com/tutorial-fat-quarter-pillow-case-dress/ 
  Happy Crafting everyone!

Tuesday, April 26, 2011

Easter Duds

I found this pretty fabric on the clearance rack, and I was so excited to turn it into sweet Easter clothing for my little ones.

I made K this sweet little dress using this pattern.  It looks overwhelming, but it is actually a pretty easy pattern.  I had to read through it a few times, and even had to have a friend read through it with me.  The shoulder seam was confusing to me, but I decided to just try it.  It was MUCH easier than I had made it.   My only objection was there were no sleeves in the pattern, and we like K to have sleeves in her dresses.  

My solution was to put the sleeves from this pattern into the arm hole BEFORE, I stitched up the seams (after I sewed up the shoulder seams).  These little sleeves are a cinch to make, and will come in really handy to add sleeves to other projects.  


I also made her a little bolero jacket using this pattern.  I made the pattern larger by measuring the difference between the pattern and one of K's slimmer cut t-shirts (since she is super skinny).   I then added that difference to the pattern.  I also added the ruffle all the way around the jacket.  I think it looks better that way, plus it was easier.  I also lined the entire jacket to hide the seams.  To do that I just cut out double of all the pieces (except the ruffle).  I made 2 copies of the jacket (minus the sleeves), and then sewed the ruffle to one of the jackets.  I then sandwiched the ruffle between BOTH of the jackets right sides together (the top of the ruffle points to the center of the jacket).  I sewed around leaving a few inches to flip the jacket right side out.  I ironed it well and then added the sleeved into the arm holes.  I ironed it again, and then top stitched around the entire jacket (making sure to seal the opening left to turn the jacket right-side out).

 There it is....It seems harder than it actually is, and I think she really loved it.

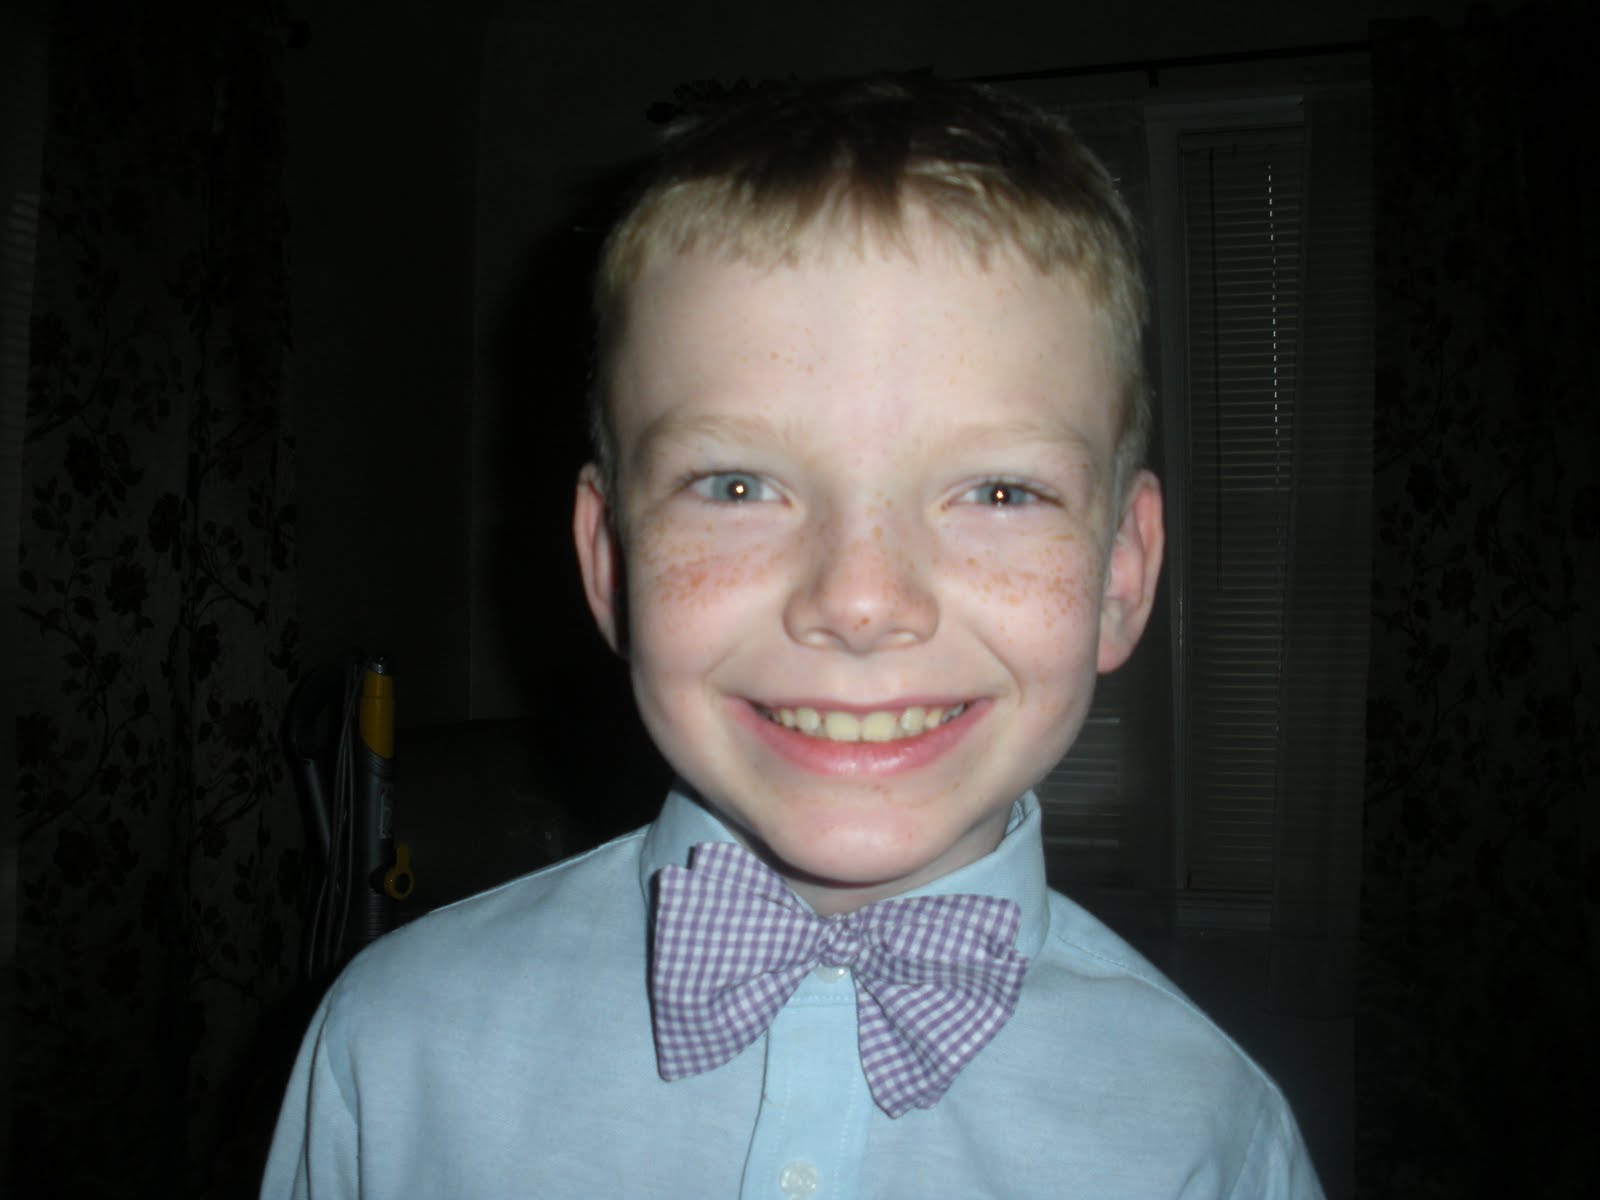
 D thought a bow tie would look pretty awesome and I was happy to oblige.  I used the instructions from this pattern.  I also used this pattern by Martha Stewart.  She gives you a tie-shaped pattern to use as a template.  It took me a few tries to get the size right for D.  He has a pretty big head, and he needed the adult sized pattern.  I LOVE the look of actually tied bow-ties, but they are a pain to get off and on.  I put a swimsuit hook on the back and attached a pice of elastic to the other end (for a loop so the hook could slip into it).  It made the bow tie easy to get on and comfortable to wear.

And there you have it.  Happy Easter from our family to yours.

Happy crafting everyone.

Sunday, April 10, 2011

Gooey Goodness

Many of you know my parents, and you know that they are AMAZING in the kitchen.  (Check out my Dad's blog)  My mom is known for her bread and especially her yummy cinnamon rolls.  So, when I came across this recipe http://www.joythebaker.com/blog/2011/03/cinnamon-sugar-pull-apart-bread/ my curiosity was peeked.  
While making rolls for dinner tonight, I thought I'd give the basic idea a try.  I didn't use the bread recipe (I think my mom's is the best), but I imitated the method of putting the roll/loaf together.  
Doesn't it look so yummy and gooey?  It was.

So here is the basic recipe/instructions.  (Note:  I have watched and helped my mom make this roll dough for decades.  I will try to explain what to do, and I apologize if I leave stuff out.  I make my rolls in a Kitchenaid, my mom uses a Bosch.  I don't know how these work up by hand.  This is also a 1/2 recipe the full recipe makes too many rolls for my family...or at least my waist line)

Mom's rolls:
2 cups hot water
1/2 cube butter
3 Tbs. sugar
1 Tbs. yeast
1/2 Tbs salt
flour

Put hot water, butter, sugar and yeast in the mixing bowl.  Let it sit for a bit (until the yeast starts to foam) then add the salt and about 3 cups of flour.  Mix that really well with the dough hook (a couple of min).  Then add more flour 1/2 c. or less at a time, making sure the flour mixes in completely until you add more.  Continue to add flour until the dough starts to unstick from the bowl.  (that was my mom's test, and this is where I don't know how to explain things).  When sides of the bowl look clean and the dough can be touched without sticking all over you, it is done.  I put my dough into a greased bowl and put a damp cloth over the top.  You then let it rise until it is doubled in size.  (I sometimes turn my oven to warm, then turn it off when I put bowl of dough in.  It speeds up the process).

I made 1/2 my dough into crescent rolls (rolls into a large circle dough being 1/4" thick, use a pizza cutter and cut the dough into quarters and then each quarter into thirds. Roll the little triangles thick side to tip.).  The other 1/2 I made these cinnamon pull-a-parts.  Roll the dough out and slather in butter.  Sprinkle on cinnamon, brown sugar and nutmeg.  Cut into 2" squares (approximate).  Stack the squares on each other, put in a greased bread pan.

Let the bread rise again, 15 min or so, and bake at 350 for 15 min (check, when it is golden brown and stiff when you push on one of the little squares it is done.)  I think I actually pulled mine out a few min too soon.

Let it sit for just a min, then invert the pan onto a plate.  It has LOTS of HOT STICKY SUGAR so be careful.  Let it cool a bit and ENJOY!

Wednesday, March 2, 2011

Going, Going, Gone!

We had a service auction for a Relief Society party tonight. Everyone was supposed to bring a service or item to be auctioned off (purchases made with points awarded for random stuff). I couldn't decide what to make/take/do. At first I made these scripture covers. I thought they were pretty good, but when I showed them to my hubby he asked where the pen holder was (he didn't mean to sound critical, but....). So, I did take one to the auction, but I will save the post on that until I have it all figured out (pen holder and all), plus I forgot to take a picture.

So, today during nap time I thought I'd give this apron a try. It was a pretty easy apron to make. I decided to use a rolled hem on my serger to speed things up, but it is a totally doable project with out one. It took about 1 1/2-2 hrs. to make, and I got to use up some of my scraps.
Now, about those scraps, I am trying really hard to put things together that don't "match" but still "go". What do you think? Does it work? I noticed while digging in my stash that I seem to like the muted, earth tones more than bright, vibrant ones. Maybe I'll have to work on that.

When I got home tonight, Kent asked what I had got at the auction. Well, I didn't actually bring anything home. I am in the Presidency and was busy with other stuff. (No, don't be sad) I actually got the best prize of all, my apron went for the top sell. (Not that it was a contest) Sometimes it's nice to know that other people like your stuff... even if there aren't any pen holders on it :)
Happy Crafting
~Mariam

Friday, February 25, 2011

Monster bag

I've seen these cute little crayon/coloring bags floating around in the blog-world and thought I'd give it a try. I used the instructions found at
http://hideousdreadfulstinky.blogspot.com. I used a different method to make the bag, but still pretty similar. As you can see, the little monster is perfectly imperfect (love those projects) and it worked up really fast.

This little guy is going to live with my sweet nephew who is turning 4 soon. I think he will love it.
On a side note, I found this pattern while looking at these two blogs. One is "Made By Rae" and the other "Made" they are both hosting a month of "Celebrate the Boy". They are sharing lots of craft ideas and tutorials. Many of you crafters realize there is LOTS of cute girly crafts and LOTS of cute baby crafts, but not much for boys. Well, these two ladies are trying to fix that. Check them out. (By the way, I hope to be 1/2 as talented and creative as these two, they are incredible).

Happy Crafting
~Mariam

Wednesday, February 9, 2011

Shirts Galore

I've been having more fun with my Silhouette machine, but this time I was not alone. My amazingly talented friend Kinsey, joined me in a shirt party. Sadly we spent so much time taking care of crying babies and getting the machine regulated she didn't have time to paint hers (she said she can do it at home easy, but I still feel like a schmuck). I cut out the designs on freezer paper, we ironed them on the shirts and then we used Kinsey's fun fabric paints. The process was pretty quick and super fun.

Here are the super fun shirts I made. I am planning on giving them to the kids for Valentine's Day (you'll see more on Kent's shirt), and I think they will like them.

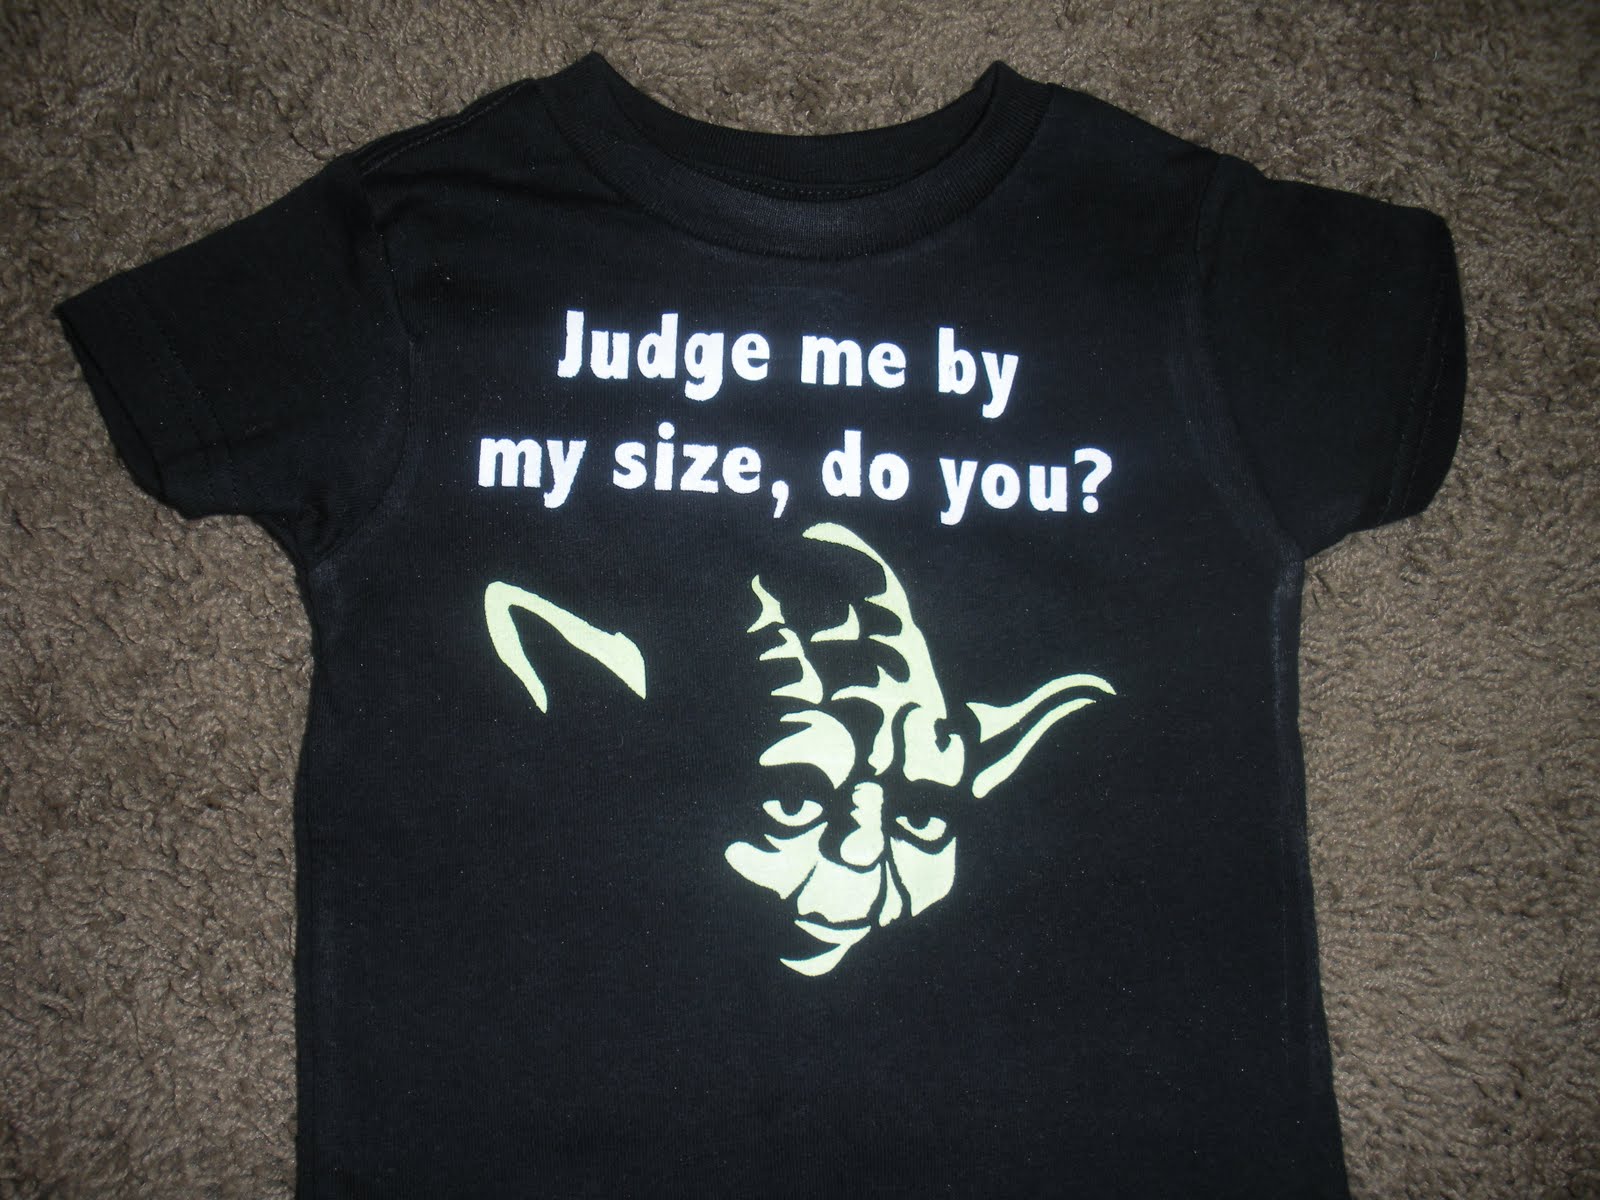
This little one is my FAVORITE. How cute is the little Yoda? (And, that is the correct quote, Kent watched the movie just to get it correct).
This is such a sweet little shirt for my little K. I got the template from
http://papercutting.blogspot.com/ (LOVE her art by the way) She calls it "Love Lasso", and I think it is adorable. It is perfect for Valentine's day, but is cute for all the time too.

This adventurous little guy reminds me of my nephew, so this will be his for his upcoming birthday. The origin design is from the site above, but he didn't have a cowboy hat. I thought if my little nephew was ridding a dinosaur, he would definitely wear a cowboy hat, so I added one.
This is for Kent. I was so proud of myself for the good idea. We kept it a secret the whole night (not easy to do), then he got on the computer. He said, "I really like the design with the Nintendo controller, can you make me one?" I had intended to give the shirt as a Valentine's Day present, instead I threw it at him (jokingly of course) and said something questioning his intelligence (or something like that).
Here is D's Green Lantern shirt. My funny little guy wanted Green Lantern underwear for Christmas when he was 3 or so (Ya, they don't make those. Thanks to good friends who made us some). Now, I think of him whenever I see the Green Lantern.
Oh, here is the link to the artwork http://outsiderzero.deviantart.com/gallery/

Happy Crafting All.

Tuesday, February 1, 2011

Birthday stuff

Wow, I hadn't realized how long it had been since my last post. Well, I have a few new and fun birthday ideas. I got a Silhouette machine for Christmas, and I have had lots of fun with it. Here is some of the fun things I have made.

My nephew L is turning 4 soon. He is having a Knight and Princess party, and we needed fun invitations. I thought about these knightly flags when I saw the flag images (that come with the machine). I made the dragons (downloaded it into the Silhouette program, traced and cleaned it up a bit). We printed off the party info, written in a knightly language of course, distressed them a bit and glued it to the back.
We then just used double sided tape to stick the small dowel rods on. I think they turned out pretty cute. To top it all off, they only cost a few $ to make and about 1 hour of time (it took us a bit longer due to little "helpers").
Here is a picture from my baby's first birthday (wipe a tear). He had a really fun cookies and milk party. I used my machine to cut out all the signs for the cookies, the ballon tags (circle with #1 inside) and the 3-D stars. The stars were really fun and easy to make. I made a star on my Silhouette program and then added perforated lines so it would fold in and out easily, making the star pop out.
I also made a couple of birthday banners that hung on the mantle and doorway. It was very inexpensive and I think it gave the party a fun touch.

Well, there you have it. Even moms get to have fun playing with their new toys. If you have a Silhouette and would like any of the images I made, just let me know. It is always better to share the love.

Happy Crafting.