Okay, I am going to try this blogged tutorial thing. Here is how I make my spooky spider hair clips
 First you have to make the curly ribbon. (I already used up all my black, so I had to use blue). To make the ribbon you cut a small dowel rod to the width of your oven. Clip the end of the ribbon (must be 100% polyester, I just used the cheap spools) with a small clothes pin. Just wrap the ribbon around the dowel. The closer the wrap, the tighter the coil. Cut to length and clip the other end with a clothes pin.
 Bake the wrapped rods in the oven at 275 for 20-25 min. (I lined my oven rack with foil just because it was a little dirty). Take them out, make sure the coil took (unwrap a little, if the coil doesn't hold put it back in the oven for a few min) and let them cool a few min.
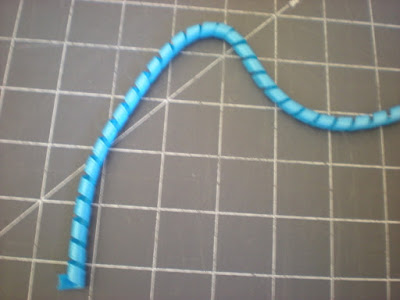
 When you are ready to use them, take them off the dowel and you will have this.
 I made 2 spiders out of each 20" korker (as they are called). I cut it in half, then each half in half until I had 8 pieces.
 Line 4 up and tie the middle together. This just helps hold them together while you are gluing.
  The body of the spider is just a knot. I used the flat, squarish side of the ribbon, it was easier to work with.
  Just glue the korkers to the back of the knot. Put a bit more hot glue and fold one of the ends over. I like to "Fray Check" the ends (with "Fray Check", clear fingernail polish, or heat seal the ends). Then cut the other side to length and fold over to glue.
  I then glued the whole thing onto a little snap clip. You could use another type of clip, these just stay in K's piggies better.
 Don't forget the googly eyes, and you are done.
  This is a picture of the blue set I made for K. They were made with 8, 3" korkers and a pink button with ribbon tied through.
 I found most of my info from this website. The instructions are at the bottom of the page.


